The initial set up for kiosk mode must be done via browser.
Initial Setup for Kiosk Mode
- Step 1: Log in as an administrator.
- Step 2: Navigate to “Settings ,” then “Time Clock Settings”
- Step 3: Under “Kiosk Settings,” toggle Kiosk Punching on.
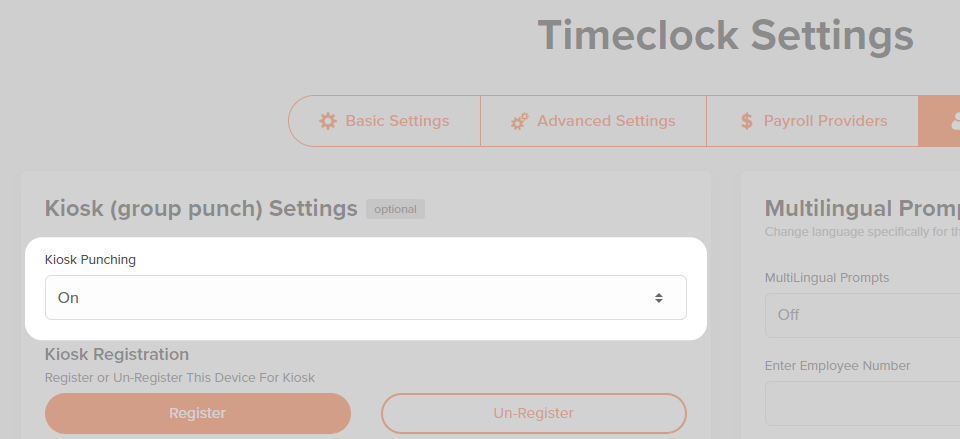
- Step 4: Optionally, upload your company’s logo.
Once these steps are completed, you can register specific devices as kiosks.
Set Up a Browser-Based Kiosk
- Step 1: Log in as an administrator on the device you’d like to set up as a kiosk.
- Step 2: Navigate to “Settings ,” then “Time Clock Settings.”
- Step 3: Click on the “Employee Punch Site” tab.
- Step 4: Flick “Register” to register your device as a kiosk.
- Step 5: Log out of your account to automatically start kiosk mode.
- Step 6: Now, employees can enter their employee numbers to clock in and out from this device.

Register Another Device
If you’re working off-site and need to register devices at multiple locations, you can generate a one-time code from your administrator account and distribute it accordingly.
- Step 1: Login as the administrator.
- Step 2: Click the Settings icon.
- Step 3: Select Time Clock Settings.
- Step 4: Select Employee Punch Site.
- Step 5: Under Kiosk settings, click Generate One Time Code.
- Step 6: Enter your email address or phone number to send the code to a manager to register a kiosk station on another device.
Once the code is sent, an email or text follows. Enter the code to register the device. The code is valid for up to 72 hours. Once the code is used, it is no longer valid, and a new code will need to be generated.
Set Up Multilingual Prompts
Multilingual prompts are controlled by the administrator. You can manually enter text in your desired language. We currently do not support toggling between multiple languages. When you enable multilingual prompts, your kiosk can display the following fields in other languages:
- Employee Number
- Next
- Punch In
- Punch Out
- Step 1: Log in as an administrator via a browser.
- Step 2: Navigate to “Settings ,” then “Time Clock Settings.”
- Step 3: Click on the “Employee Punch Site” tab.
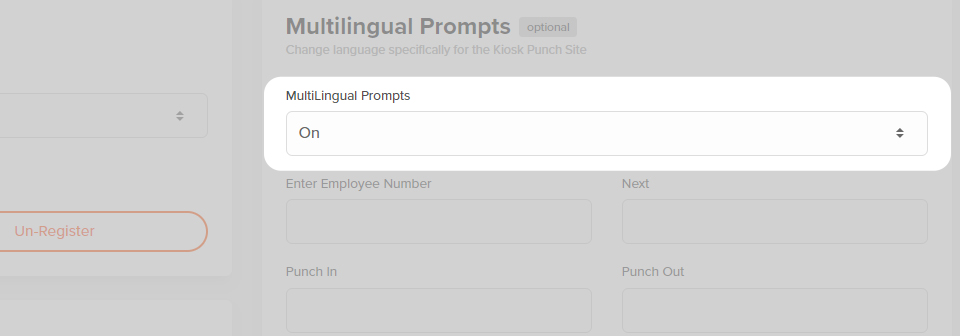
- Step 4: Toggle “Multilingual Prompts” on.
- Step 5: Enter the translations of each phrase into the fields.
What to Expect
Kiosk Punch will be visible in the top-right corner of the OnTheClock home page after registering the device as an authorized punch location for kiosk.
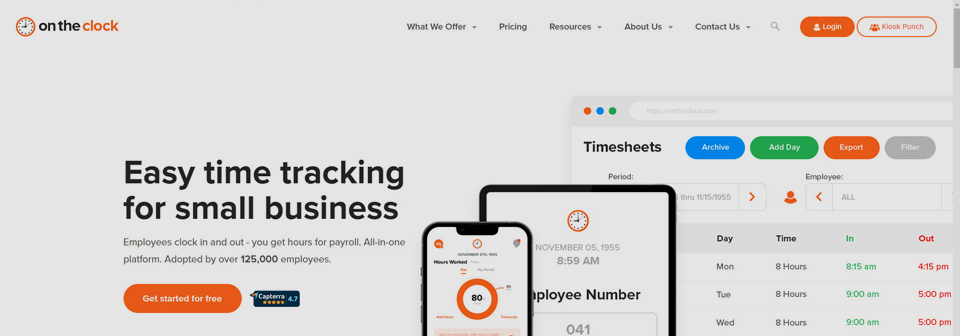
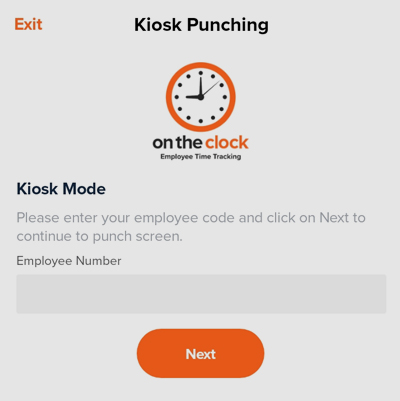
Once clicking on Kiosk punch, you will be in Kiosk mode and may enter the employee's number.
Troubleshooting
A
Any device that has internet access can be used as a group punching location. This includes desktop and laptop computers as well as mobile devices, such as touch-screen tablets and smartphones.
A
Yes. Follow the above directions on how to set up a device for kiosk mode for the new device.
A
Yes, employee clock-ins can be restricted to specific devices. Simply visit the Location & Security tab in the employee’s profile to see a history of all of the punch devices they've used. From there, you can approve the allowed device(s). Note that the employee will need to clock-in via the kiosk before they can be restricted to that specific device.
A
An employee's number field can be located under the General Settings section of the employee’s profile.
A
No. An employee will clock in using his or her employee ID. You can customize the ID to use letters, numbers, or both. It does not need to be four digits.
A
The code is a one-time code that can only be used once. You will need to generate a new code for each new device.
The initial set up for kiosk mode must be done on the browser. Login on the browser and follow kiosk instructions first before following app instructions.
Set Up a Mobile Device Kiosk
- Step 1: On the device you’d like to set up as a kiosk, log in as an admin.
- Step 2: Click on “More,” then “Group Punch Mode.”
- Step 3: If prompted, click “Confirm” to verify you’d like to use group punch mode.
- Step 4: Now, employees can enter their employee number to clock in and out from this device.
What to Expect
Once registering the mobile device for Kiosk mode, you will see a Kiosk Mode option under the “More” section of the app.
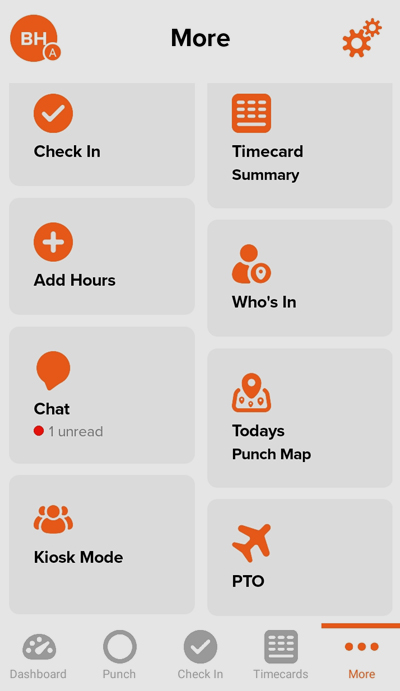
Once you enter Kiosk mode, you will be notified that the only way to exit kiosk mode is to enter the admin password. To Exit kiosk mode, tap on the Exit option in the top left corner of the screen and enter the admin password.
Troubleshooting
A
Any device that has internet access can be used as a group punching location. This includes desktop and laptop computers, as well as mobile devices such as touch-screen tablets and smartphones.
A
Yes. Follow the above directions on how to set up a device for kiosk mode for the new device.
A
Yes, employee clock-ins can be restricted to specific devices. Simply visit the Location & Security tab in the employee’s profile to see a history of all of the punch devices they used. From there, you can approve the allowed device(s). Note that the employee will need to clock in via the kiosk before they can be restricted to that specific device.
A
You will find the employee number field under the General Settings section of the employee’s profile.
A
No. The employee will clock in using their employee ID. You can customize the ID to use letters, numbers, or both. It does not need to be 4 digits.